
Italian pizza with biga fresh dough - pizza margherita my way
If you have ever wondered how to make a home made pizza as close to the ones baked by professionals as possible (the serious ones use brick ovens), here is a good recipe to try. It’s my way to make pizza margherita; the most acclaimed pizza in the world and a favourite with the family.As it says in the title, this is a pizza made by using a biga. Biga is the Italian way to make a pre-ferment and, in Italy, bakers use it every day to make bread like ciabatta, pugliese, rosetta soffiata and other varieties.The big advantage of using biga is that it adds flavour and texture to the bread. Biga is prepared by mixing flour with a certain amount of water and yeast (you never add salt to the biga). Once the biga has fermented for a certain amount of time, we add the biga to the rest of the ingredients listed in the recipe and complete the preparation of the dough. To keep it simple, think about the biga method as a dough prepared in two stages, as opposed to a dough prepared in one stage (straight method).The standard biga of an Italian baker is made with the following percentages:100% flour44% water1% fresh yeast (fresh compressed yeast)This is to say that if you want to make a biga with 100 g of flour, then you need to use 44 g of water and 1 g of yeast. However, the 100%/44%/1% formula can be varied within certain limits, by increasing the amount of water to a maximum of 60% and by decreasing the amount of yeast to a minimum of 0.1%. Choosing which is which depends on the ambient temperature, the type of flour and the time you will allow the biga to ferment (usually between 12 and 16 hours, but it is not unusual, in Italy, to use biga of 24 or even 48 hours).In this pizza recipe, I will show you how to prepare a biga and then how to prepare the final pizza dough. Pizza made by using the pre-ferment method (biga) has definitively more flavour and complexity than the pizza prepared with the straight dough method (one step method), where all the ingredients are mixed together at the start.In the list of dough ingredients you will see that I am using the baker’s percentage beside the ingredients, all measured by weight. It means that the flour is always considered 100% and the other ingredients are a percentage of the flour weight. This way you can scale a recipe up and down to suit the number of guests; you can use 1Kg, 10kg, 100kg of flour and the other ingredients are added as a percent of the flour amount you are going to use. Dough preparation and rising: 5 hoursMaking one pizza base and topping it: 5 minsCooking: 8-10 minsDifficulty: Advanced150 g Strong white flour1 g Fresh yeast75 g Water (cold)Total weight = 226 gI have listed the overall ingredients to clearly show you the baker’s percentage discussed earlier. However, you don’t need to gather all these ingredients at once because as a first step you will be making the biga (probably the night before).To make the biga you need to take the following ingredients from the overall ingredients list (prepare the biga the night before):Once the biga has fermented (12-16 hours), then you prepare the final pizza dough by adding the biga to the remaining ingredients from the overall list:Total weight = 841 g : 5 = 168.2 g (with 841 g of final pizza dough you can make 5 pizza bases, roughly 160 g each).
Equipment
- Dough Cutter
- Pizza Peel
- Pizza Stone
Ingredients
- 350 grams Italian “00” or “0” type flour for pizza (alternatively use plain flour) bp 70%
- 150 grams Strong white flour bp 30%
- 6 grams Fresh yeast (fresh compressed yeast) bp 1.2%
- 10 grams (1 tablespoon) Fine sea salt bp 2%
- 5 grams (1 tablespoon) Diastatic malt powder bp 1% - optional
- 20 grams (2 level tablespoons) Extra virgin olive oil bp 4%
- 300 grams (1/2 pint + 1 fl oz) Water bp 60%
Final pizza dough (Metric & Imperial measurements)
- 350 grams Italian “00” or “0” type flour for pizza (alternatively use plain flour) With 500 g of flour you should be able to make 5 large pizza bases of about 30 cm (12") diameter.
- 226 grams Biga
- 5 grams Fresh yeast (fresh compressed yeast)
- 10 grams Fine sea salt
- 5 grams (1 tablespoon) Diastatic malt powder - optional
- 20 grams Extra virgin olive oil
- 225 grams Tepid water The easiest way to make tepid water is to mix two parts cold water with one part boiling water. However, when preparing the tepid water, be aware that above 46ºC (115ºF) the yeast will start suffering because of the excessive heat and ultimately it will die if the water temperature reaches 63ºC (145ºF). The exact equivalent, in volume, of 300 g of water is 300 ml. This does not apply with other liquids or liquid fats (i.e. olive oil).
Instructions
Preparation of the biga (time 10 PM):
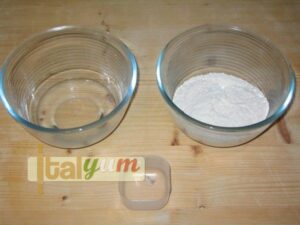
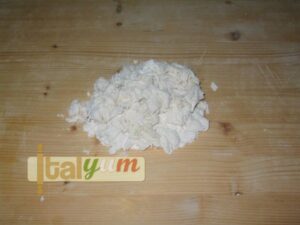
- Take 150 g of strong white flour, 1 g of fresh yeast and 75 g of cold water.
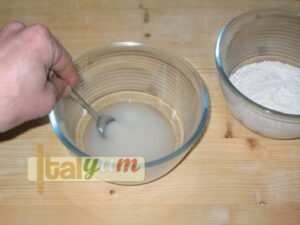
- Dissolve the yeast in the cold water, stirring for a few seconds with a little spoon.
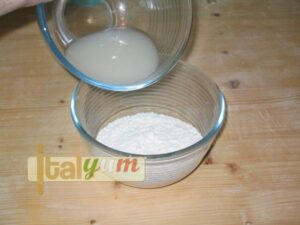
- Add the water with the yeast to the flour.
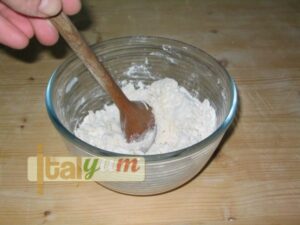
- Stir using a wooden spoon. The mix will be fairly dry so press down and stir applying a bit of pressure. Do so until you see that the ingredients start coming together.
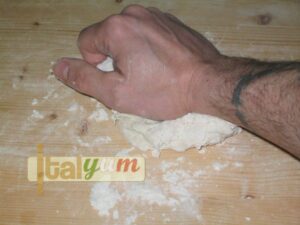
- The mix will still be too dry, so you need to do some kneading with your hands to complete the little biga dough. Put the mix onto a work surface.
- Knead, intensively, by hand for 10 minutes. When the biga has been kneaded for at least 10 minutes, you should have a smooth, silky and elastic biga dough.
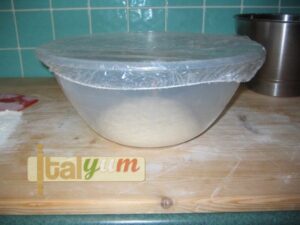
- Put the biga dough into a small glass bowl and seal the top with cling film.
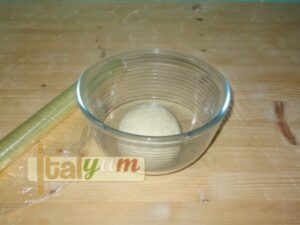
- Leave the biga to ferment, at a room temperature of about 20°C (68ºF) for 12-16 hours.

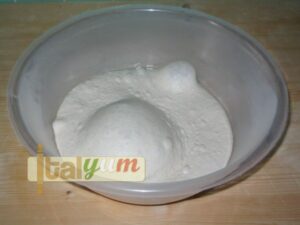
- This is my biga, the day after at midday, after being fermenting for 14 hours.
Preparation of the final pizza dough:
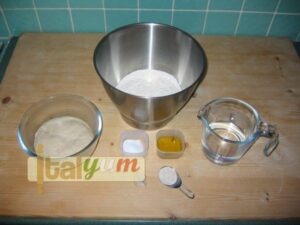
- Collect all the ingredients listed in the final pizza dough ingredient list.
- Dissolve 5 g of yeast in 225 g of tepid water, stirring for a few seconds with a little spoon.

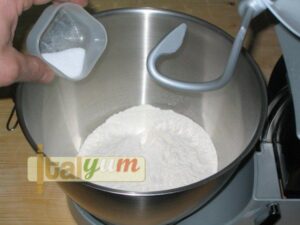
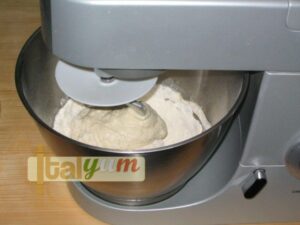
- To prepare the final pizza dough, this time we will use a mixer (the mixer featured in the picture is a Kenwood Chef, but any equivalent mixer will do the job). Put 350 g of pizza flour into the mixer bowl and add 10 g of salt.
- Add the diastatic malt powder.

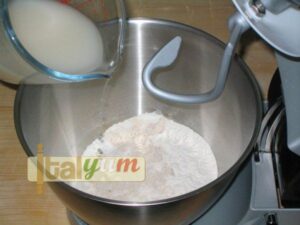
- Add the water with the yeast.
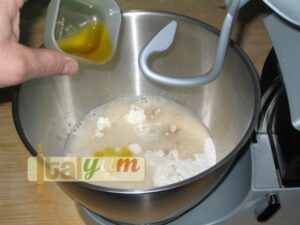
- Add the olive oil.
- Mix at low speed (No 1 setting in my Kenwood) for a minute or two so that all the ingredients come together.
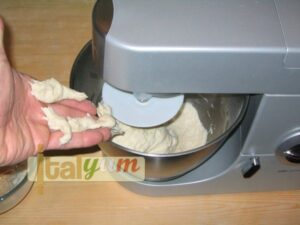
- Then, set the speed to the next setting (No 2 setting in my Kenwood) and start adding the biga in little chunks. Let the mixer do its job for about 8 minutes.
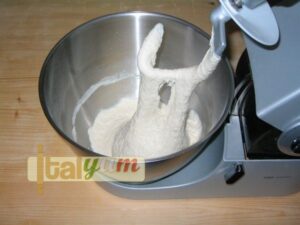
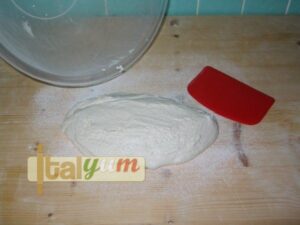
- This is my pizza dough after about 10 minutes mixing. The dough is still a bit soft but don’t worry.
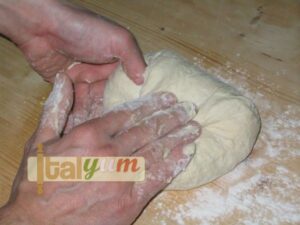
- Dust the work surface with flour and transfer the pizza dough onto the work surface.
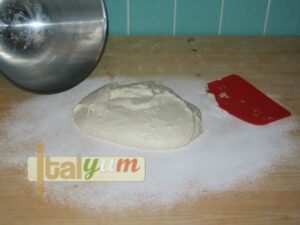
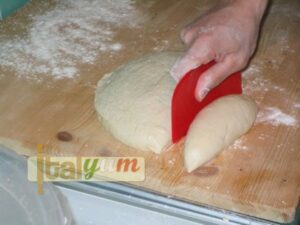
- Now, we need to shape the dough into a ball. To do so, lift and fold the outer edges of the dough towards the centre, while rotating the dough at the same time and tucking the edges into the centre of the ball. Anything between six and eight folds should be enough.
- When finished, turn the dough over and with both hands rotate the dough while applying gentle pressure to the bottom (as if tucking the dough underneath).
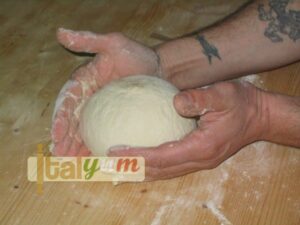
- If the above instruction has been carried out correctly, you should end up with a ball like this one.
- Grease the inside of a large bowl with a thin coat of olive oil.
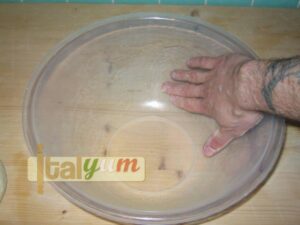
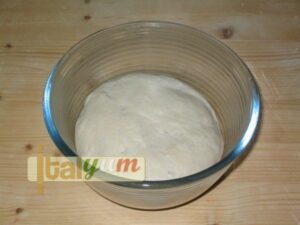
- Put the dough ball inside the bowl and cover the bowl. Leave the dough to rise for 3 hours (this is called bulk fermentation).
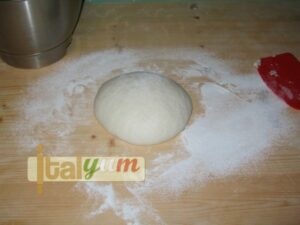
- This is the pizza dough after 3 hours bulk fermentation.
- Dust the work surface with flour and return the pizza dough onto the work surface.
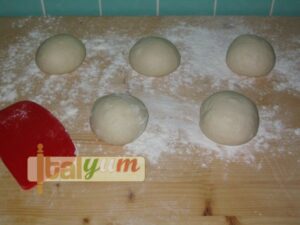
- Next, divide the dough in five segments of equal weight (160 g each).
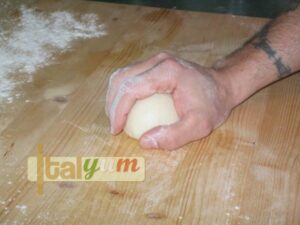
- Make a ball out of each segment. To do so, roughly pre-shape the segment into a ball, then cup your hands over the ball. Press down and move your hand in a circular motion, while keeping the hand cupped. This action will compact the ball into a tight round shape.
- Spread some flour over the working surface and lay your dough balls onto it. Dust the top of the balls with a little more flour.
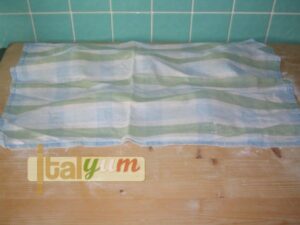
- Cover the dough balls with a dry cloth and leave them to rest for 1 ½ hour. This time is called final fermentation.
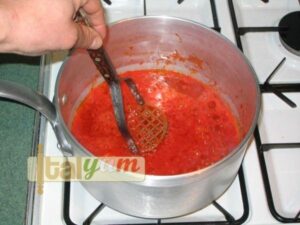
- Meanwhile, prepare the tomato sauce. Add a dash of olive oil into a saucepan and pour a can of peeled plum tomatoes into the pan.
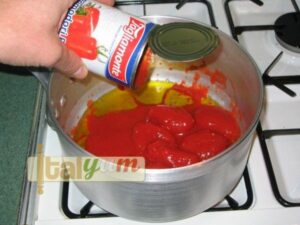
- Break down the tomato to avoid having big chunks (the most effective way is to use a potato masher). Add a pinch of salt and simmer for about 15-20 minutes. This will eliminate some of the water in the tomato sauce and increase its flavour.
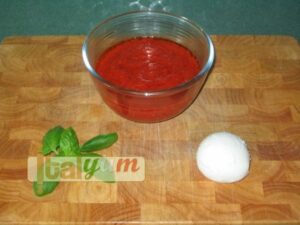
- When the sauce has reduced to the right consistency, pour it into a small bowl and let it cool down. This is the sauce you will use later to top the pizza bases. At the same time, make sure you have basil leaves and some buffalo mozzarella balls (roughly 3 basil leaves and one mozzarella ball for each pizza base). Put the pizza stone into the oven and pre-heat the oven at least 1 hour before baking the pizza. This to ensure that the baking stone is at the right temperature. In my case, I have set my electric fan assisted oven to 230°C (450°F).
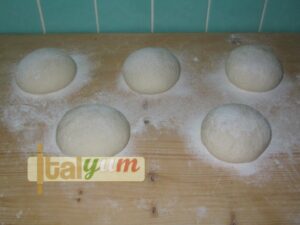
- These are the pizza balls after 1 ½ hours final fermentation. It’s 5 PM and now we ready to make the pizza.
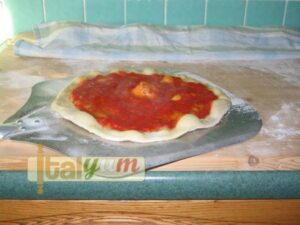
- Lightly flour the working surface and take the first dough ball. Using a rolling pin, make the pizza base and dust the side that will be in contact with the pizza peel with a generous amount of flour. The pizza base should be very thin; I would say 2 or 2 millimetres (1/16" or 1/8") thick.

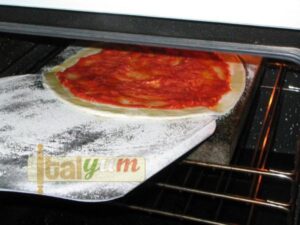
- Sprinkle some polenta or coarse semolina flour onto the pizza peel (this will make the pizza base slipping onto the pizza stone easier). Move the pizza base onto the peel and quickly spread the tomato sauce.
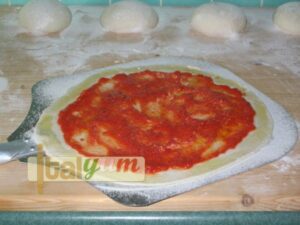
- We will bake the pizza in two stages. Quickly open the oven, let the pizza slip onto the hot stone and bake for 5 minutes (this is stage 1).
- After 5 minutes, take the pizza out of the oven.
- Quickly, top the pizza by scattering the mozzarella around. Add three or four basil leaves and, finally, complete with a dash of extra virgin olive oil.

- Put the pizza back in the oven, onto the hot stone, and carry on baking for about 4 minutes (this is stage 2).
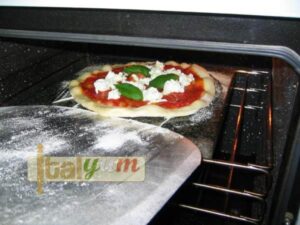
- This is the pizza margherita after 5 + 4 minutes baking. For a proper made margherita pizza, the mozzarella should not be burnt. Before serving you can drizzle the pizza top with a little olive oil if you like.If you have followed the directions to the letter you should end up with a very crispy and flavourful pizza.

Notes
Buon appetito!
Federico Pezzaioli
Nutrition
Calories: 650kcal
Tried this recipe?Let us know how it was!